In this example, I’ve already installed the Oracle Database 11gR2 software (11.2.0.4 in this example) on one of my Linux 6.4 machines, and I’m going to create a new database instance simply called ’emrep’ (as it’s going to be used for my EM12c database repository) using the DBCA tool.
The data files will be stored under the /u02/oradata/{DB_NAME} directory, setup by ‘root’ as follows:
mkdir -p /u02/oradata/emrep
chown -R oracle:oinstall /u02
chmod -R 775 /u02
Start the Database Configuration Assistant (DBCA)
Open an X-Windows session to the server as the ‘oracle’ user.
Set your ORACLE_HOME environment variable appropriately, then start the assistant by running the following:
export ORACLE_HOME=/u01/app/oracle/product/11.2.0.4
$ORACLE_HOME/bin/dbca
Once the GUI starts, respond as follows:
- Welcome
- Next
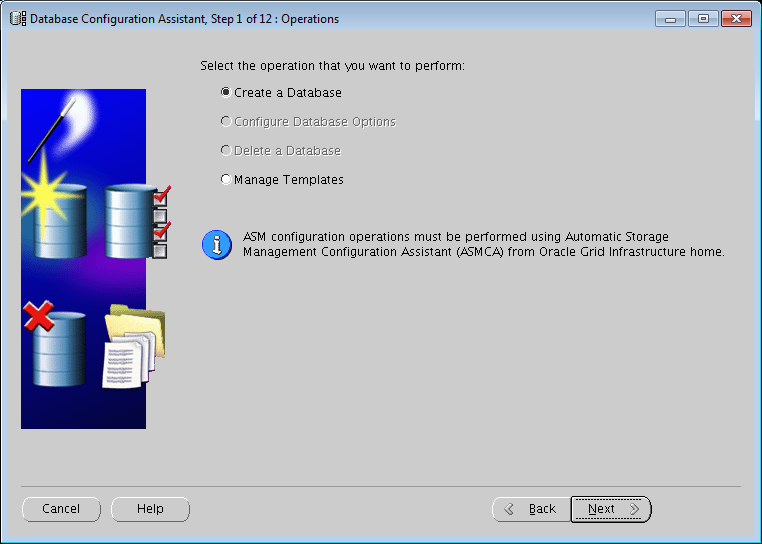
- Step 1 of 12: Operations
- Create a Database
- Next
- Step 2 of 12: Database Templates
- General Purpose or Transaction Processing
- Next

- Step 3 of 12: Database Identification
- Global Database Name: emrep (or any name you want providing it’s no more than 8 characters long, and starts with an alphabetic character)
- SID: emrep
- Next

- Step 4 of 12: Management Options
- Tick/Untick ‘Configure Enterprise Manager’ according to your needs.
If you do want to configure Enterprise Manager locally, and a listener hasn’t yet been configured, you’ll be presented with a warning about having to configure one before being able to continue. If you need to create a listener service, take a look at this post.
- Leave everything else as default
- Next

- Step 5 of 12: Database Credentials
- Use the Same Administrative Password for All Account (unless you’d rather not)
- Password: ******
- Confirm Password: ******
- Next

- Step 6 of 12: Management Options
- Specify storage type and locations for database files
- Storage Type: File System
- Use Common Location for All Database Files
- Database Files Location: /u02/oradata
- Next

- Step 7 of 12: Recovery Configuration
- Tick Specify Fast Recovery Area
- Fast Recovery Area: {ORACLE_BASE}/fra
- Tick Enable Archiving
- Click on Edit Archive Mode Parameters…
- Archive Log File Format: %t_%s_%r.arc
- OK
- Next

![]()
- Step 8 of 12: Database Content
- Optionally, check ‘Sample Schemas’ (this will create an ‘EXAMPLE’ tablespace and some sample schemas). I recommend leaving this unticked if this is to become a live environment.
- Next

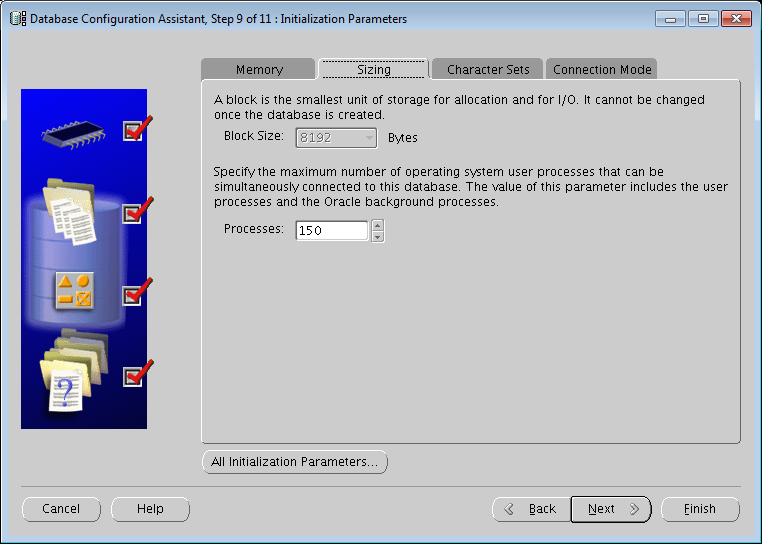
- Step 9 of 11: Initialization Parameters
- Use a Typical configuration
- Tick ‘Use Automatic Memory Management’
- Change the ‘Memory Size’ value accordingly (or leave default as 40% of total machine memory)
- Review any additional parameters by clicking ‘All Initialization Parameters’
- Next


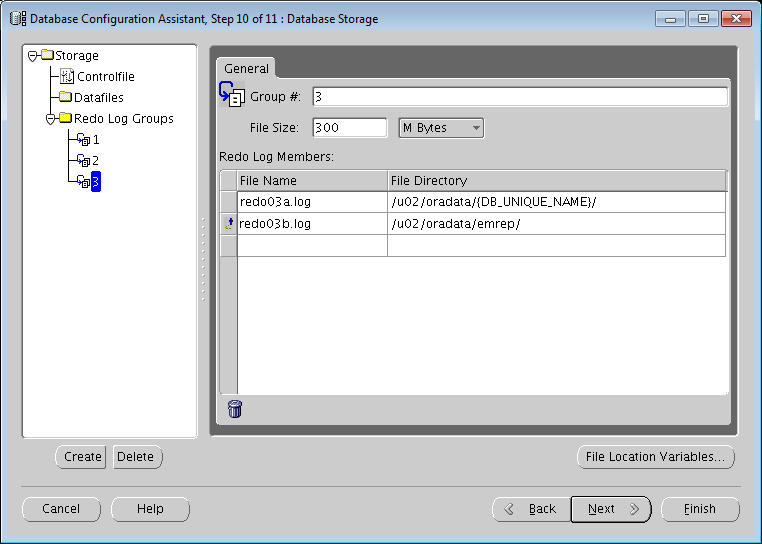
- Step 10 of 11: Database Storage
- Check storage locations/options and update accordingly if required
- Next


- Step 11 of 11: Creation Options
- Optionally tick ‘Generate Database Creation Scripts’ if you prefer to keep it for future reference.
- Finish
- Confirmation
- Check the ‘Create Database – Summary’ details
- OK


![]()
- Once the database has been created, note the message about all accounts being locked with the exception of SYS and SYSTEM.
If you need to create a listener service, take a look at this post.
Related posts:
Oracle Database 11gR2 (11.2.0.3) installation on Oracle Linux 6.4
Oracle Database 11gR2 (11.2.0.4) installation on Oracle Linux 6.4
References:
Creating and Managing a Database with DBCA
Amazing! I am an application guy and was trying to create a database on my Test VMs, and this post helped with detailed instructions!
Cheers!
Nice Document
Good one..!!