In this post, I’m installing the Oracle Database 12c Release 1 (12.1.0.1.0) software on Oracle Linux 6.4. Only the software is being installed at this point, in preparation for a single database installation which I’ll create later on using the DBCA tool.
First and foremost, before you start, make sure your Linux server meets the minimum hardware requirements:
- 1GB of RAM (plus appropriately sized swap space)
- 6.4GB of disk space for the software installation
- 1GB of disk space for your /tmp directory
More details around the requirements can be found here.
Once you’ve installed and configured Linux appropriately (see my Linux installation post here), make sure that the ‘oracle’ user has correct ownership of the /u01 mount point:
chown -R oracle:oinstall /u01
chmod -R 775 /u01
…and that the ‘oracle’ account has a password set.
Package and OS requirements
In this example, I’m meeting the package and Operating System requirements by running the following yum command (as root):
yum install oracle-rdbms-server-12cR1-preinstall
(The “oracle-rdbms-server-11gR2-preinstall” RPM seems to work fine too though…)
If you don’t install the package bundle above, then you’ll have to meet all of the required prerequisites manually, by working through the Oracle documentation here… which involves a lot more effort…
Also, make sure that the ‘/etc/hosts’ file contains a Fully Qualified Domain Name (FQDN) for your server, for example:
127.0.0.1       localhost.localdomain  localhost
192.168.28.16   linux06.vbox           linux06
Once that’s done, you’re ready to download the software…
Download the database 12c software
You need to download both Oracle Database 12c parts from the Oracle Technology Network (OTN) here.
Once you’ve downloaded the software, unzip both files to a staging area:
unzip /tmp/linuxamd64_12c_database_1of2.zip -d /u01/app/oracle/software
unzip /tmp/linuxamd64_12c_database_2of2.zip -d /u01/app/oracle/software
All of the contents from the above will be extracted to a “database” directory.
Start the installer
Open an X-Windows session to the server as the ‘oracle’ user.
Once you’ve met the requirements, and have unzipped the software, you can start the install:
/u01/app/oracle/software/database/runInstaller
Once the GUI starts, respond as follows:
- Configure Security Updates
- Uncheck ‘I wish to receive security updates via My Oracle Support’
- Next
- Confirm with ‘Yes’

- Download Software Updates
- Skip software updates
- Next

- Installation Option
- Install database software only (you can opt to create a database instance at the same time, but I’m keeping the two separate here)
- Next

- Grid Installation Options
- Single instance database installation
- Next

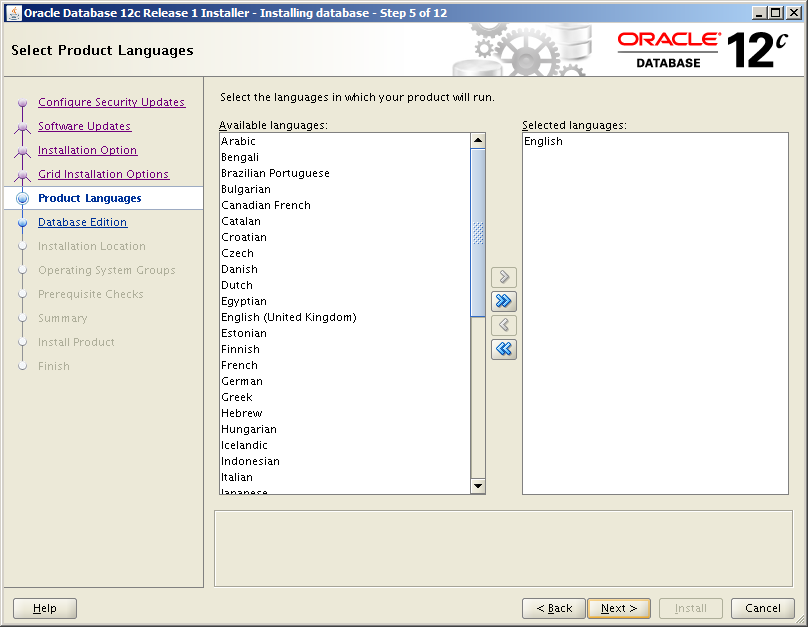
- Product Languages
- Select any additional required languages and move across, otherwise leave just the default ‘English’ selected
- Next
- Database Edition
- Enterprise Edition (6.4GB) (…or as appropriate depending on which edition you’re licensed for!)
- Next

- Installation Location
- Oracle Base: /u01/app/oracle
- Software Location: /u01/app/oracle/product/12.1.0.1
- Next

- Create Inventory (first Oracle installation only)
- Inventory Directory: /u01/app/oraInventory
- oraInventory Group Name: oinstall
- Next

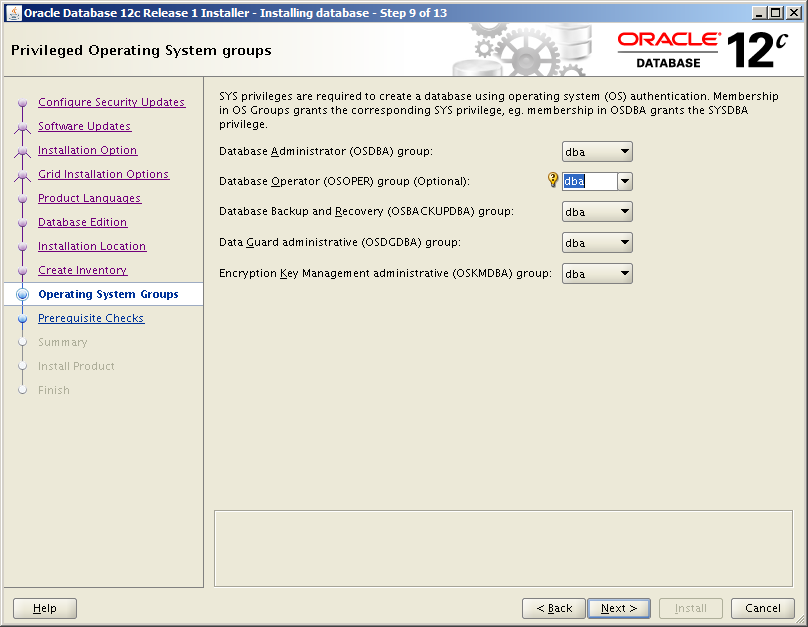
- Operating System Groups
- Database Administrator (OSDBA) group: dba
- Database Operator (OSOPER) group (Optional): dba
- Leave all the other memberships as the default ‘dba’ group too.
- Next
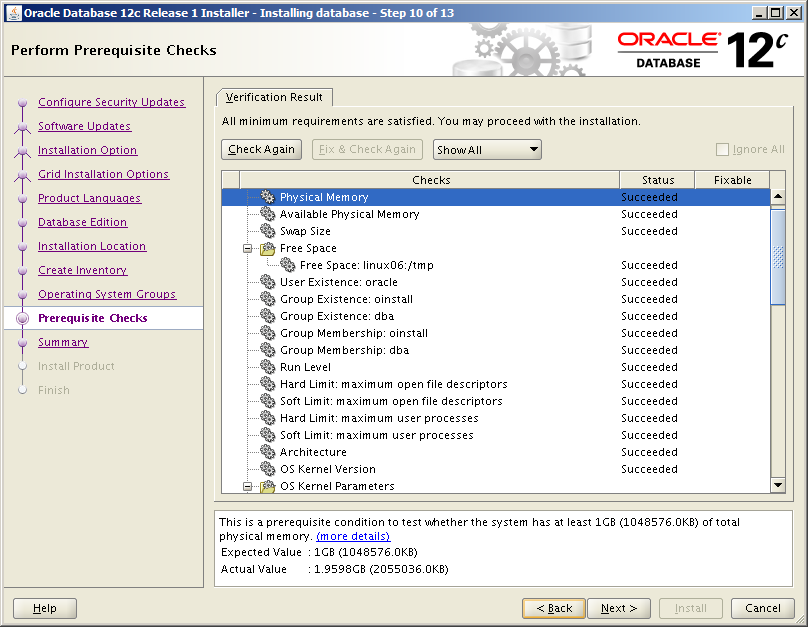
- Prerequisites Checks
- All prerequisite checks should complete successfully here, if not, then obviously they will need addressing before proceeding. Assuming all database validation checks are successful, you shouldn’t actually see this page as the installer will automatically move onto the next screen.
- Summary
- Check everything is correct!
- Click Install


Run the root.sh script(s)
When prompted, run the following as root:
/u01/app/oraInventory/orainstRoot.sh (first Oracle installations only)
[root@linux06 ~]# /u01/app/oraInventory/orainstRoot.sh
Changing permissions of /u01/app/oraInventory.
Adding read,write permissions for group.
Removing read,write,execute permissions for world.
/u01/app/oracle/product/12.1.0.1/root.sh
[root@linux06 ~]# /u01/app/oracle/product/12.1.0.1/root.sh
Performing root user operation for Oracle 12c

The following environment variables are set as:
    ORACLE_OWNER= oracle
    ORACLE_HOME= /u01/app/oracle/product/12.1.0.1

Enter the full pathname of the local bin directory: [/usr/local/bin]: <enter>
   Copying dbhome to /usr/local/bin ...
   Copying oraenv to /usr/local/bin ...
   Copying coraenv to /usr/local/bin ...

Creating /etc/oratab file...
Entries will be added to the /etc/oratab file as needed by
Database Configuration Assistant when a database is created
Finished running generic part of root script.
Now product-specific root actions will be performed.
Finally, click close to finish, and you’re all done 🙂
Update environment settings
Once the installation has finished, add the following variables to your ‘oracle’ user profile:
vi /home/oracle/.bash_profile

# Oracle variables
TMP=/tmp; export TMP
TMPDIR=$TMP; export TMPDIR
ORACLE_HOSTNAME=linux06.vbox; export ORACLE_HOSTNAME
ORACLE_BASE=/u01/app/oracle; export ORACLE_BASE
ORACLE_HOME=$ORACLE_BASE/product/12.1.0.1; export ORACLE_HOME
#ORACLE_SID=SNAP12C; export ORACLE_SID
#PATH=/usr/sbin:$PATH; export PATH
PATH=$ORACLE_HOME/bin:$PATH; export PATH
LD_LIBRARY_PATH=$ORACLE_HOME/lib:/lib:/usr/lib; export LD_LIBRARY_PATH
CLASSPATH=$ORACLE_HOME/jlib:$ORACLE_HOME/rdbms/jlib; export CLASSPATH
Reload your profile with the new variables:
. ~/.bash_profile
Now you’re ready to create your database 🙂
If you ever want to remove the software, simply run start the deinstall utility as follows, responding appropriately:
$ORACLE_HOME/deinstall/deinstall
Gotchas…
PRVF-0002 : Could not retrieve local nodename
If you see this error it’s because the OUI tries to perform a reverse lookup of your hostname. So you either need to set-up a DNS with proper forward and reverse lookups, or you need to update your /etc/hosts file so it includes your hostname and FQDN (Fully Qualified Domain Name) like so:
127.0.0.1 localhost localhost.localdomain localhost4 localhost4.localdomain4
::1 localhost localhost.localdomain localhost6 localhost6.localdomain6
192.168.28.13 linux06.vbox linux06
Alternatively, as a quick fix, you can simply set the following variable with your FQDN before starting the installer:
ORACLE_HOSTNAME=linux06.vbox
Related posts:
Creating an Oracle 12c Pluggable Database & Container Database using DBCA
References:
Oracle Database Installation Guide 12c Release 1 (12.1) for Linux
very use full stuff which you had posted.Appriciated your efforts
Hi Garth,
These are very clear and concise instructions.I have also posted a 12c and Oracle RAC install guide on Solaris and other platforms at Oracle 12c Database on Oracle Virtual Machine .
Hopefully this helps others.
Really good explanation…its clear basic doubts …